Step one – weed control
Is your lawn more than 50% weeds and a mixture of undesirable grasses?
Under the conditions described above, it will probably be necessary to use a nonselective herbicide (i.e. one containing glyphosate) to kill the entire lawn. Grass seed may be safely applied within a couple of days after applying glyphosate but seeding should be withheld until it becomes obvious that most existing vegetation has been killed off. A second application may be required if your lawn is infested with hard-to-kill weeds such as kikuyu, couch and paspalum.
Tip: Take a soil test three to four weeks before beginning your lawn renovation. Soil testing services are available at Hills Labs. You can fix any deficiencies in a later step in this guide.
Step two – mow, thatch and cultivate
Mow the lawn closely (about 20mm) and remove all clippings, leaves, and other debris by sweeping or raking. Remove thatch only during periods of cool weather and adequate moisture. Thatch should not be removed during periods of high temperatures or drought.
Mechanical core aerating machines that remove plugs (also known as cores) of soil from the lawn can be used to loosen the soil (alleviate soil compaction), allow air, water and nutrients in, and to prepare a partial seedbed.
Tip: Lime, gypsum, organics and any other nutrients should be applied in accordance with a soil test recommendation either just before or immediately after cultivation.
Step three – drag, top dress and drag some more
After cultivation and fixing any deficiencies (if needed), drag the area with a large mat or weighted section of chain link fence to break up plugs/cores into the cultivated soil, or use a vertical slicing machine to break up the cores. Wait until the soil cores have dried before dragging or slicing.
Use a good quality screened top soil or sand to fill in any low spots. Level and drag again to fill in the core holes.
Step four – fertiliser
If seeding, apply NZLA Starter Fertiliser at the rate of 1.5kg/100m2. Starter fertilisers contain nitrogen, phosphorus, and usually some potassium. Nitrogen and phosphorus are particularly helpful for rapid turf establishment.
Depending on the results of a soil test, additional phosphorus and potassium may be beneficial for new seedlings.
Step five – seeding
Uniformly spread the seed over the area, preferably with a drop seeder or fertiliser spreader. The seed should be divided into two equal lots, with one sown in one direction and the second at right angles to the first.
The best quality grass seed for your climate is:
• In open, sunny areas of lawn, NZLA has good cultivars of Perennial Rye Grass available.
• In lawn areas of partial shade and partial open sun, a good-quality turf-type tall fescue such as NZLA Elfin Tall Fescue is a good choice.
• Heavily shaded lawn areas may be seeded with 100% Fine Fescue.
Before choosing a seed it’s good idea to consider the following factors. Will the lawn get much foot traffic from children and animals? Will the lawn have irrigation installed? Will the lawn get much sun or is it heavily shaded? Get in contact or check out our Facebook group if you’re unsure.
Step six – roll and water
Lightly roll the seed into the soil for good seed to soil contact. The seeded area should be kept moist until the seed has germinated and the seedling plants have become well established. This may mean you need to set-up temporary irrigation while the plants become established. It’s important not to let the seed dry out as this will decrease the strike rate.
Pre-emergents – If sowing Perennial Rye, Tall Fescue or a blend of these, it’s at this point we recommend applying NZLA Meso as a pre-emergent – this will stop weeds germinating but not the new grass seeds from growing. NZLA Etho is another product that can be applied as a pre-emergent for Poa and some other grass weeds. You apply these at the time of seeding, do not apply once you have germination, it must be done on the day of seeding.
Both of these products can be used as post emergent applications after two to three mows.
It is not recommended to use a pre-emergent with 100% Fine Fescue grass seed.
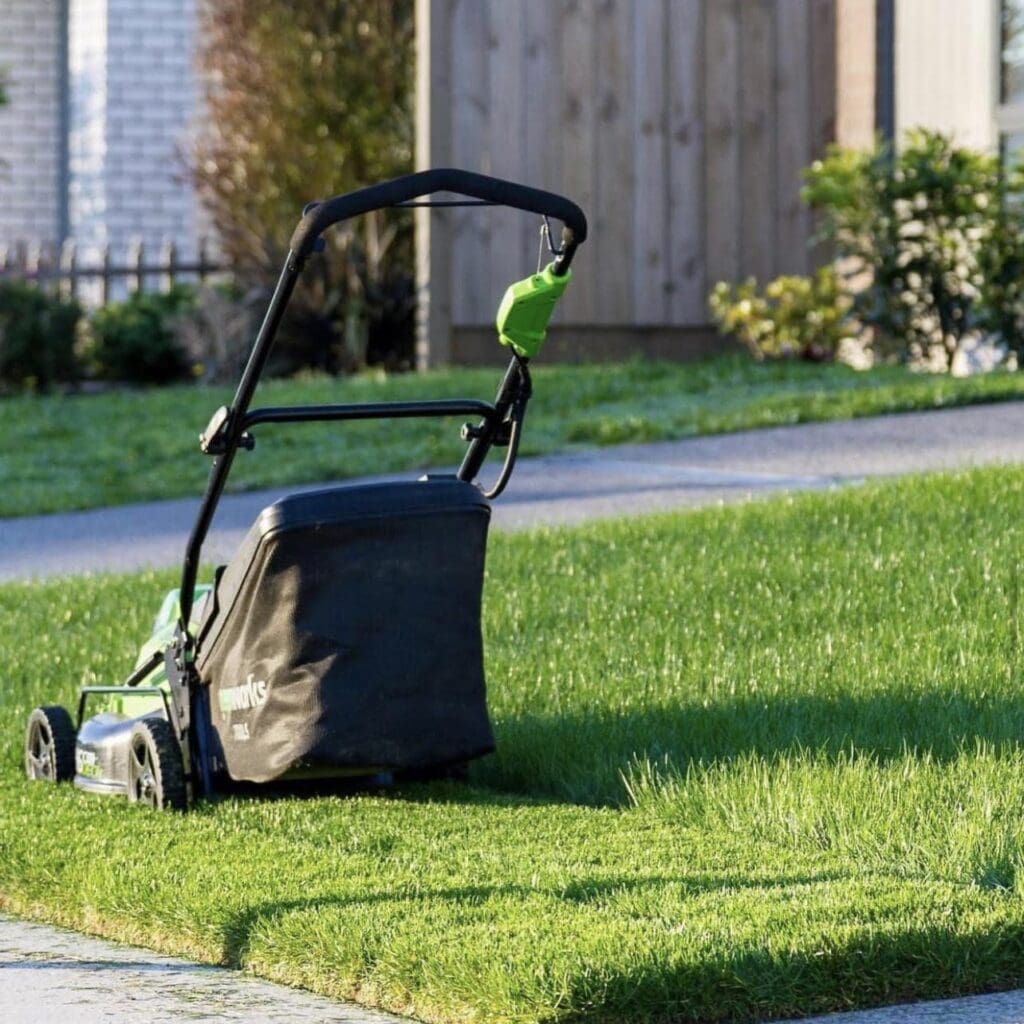
Step seven – first mow
The first mow should happen when the grass is at least 75mm high. Aim to just take the tops off so you do not shock your new lawn. Give your lawn a light water after its first mow to reduce the shock factor.
Step eight – follow up fertiliser
Your lawn will need a follow up fertiliser application about six weeks after seeding. Fertilising will help the lawn get through the warmer months. You can use any leftover NZLA Starter fertiliser for this, or NZLA stocks the good quality All Seasons granular fertiliser range. You should also consider applying NZLA Wetter to help with soil moisture retention.
General ongoing lawn care tips:
Only mow one third of the leaf blade when mowing. For example, if your lawn is 25mm, only remove about 8.5mm to prevent stressing the plant.
Irrigation is best done in the morning. Aim for two to three deep waterings a week of 20 to 30mm. This encourages deeper roots, and helps create a more drought tolerant lawn. A great method is to use an empty tuna tin and measure how long your irrigation takes to fill the container. This way you’ll know how long to run your irrigation for.
Next steps: Follow our NZLA Application Guide
Comments
0